Frequently Asked Questions
Please send your questions to Support and we will try to respond as soon as possible
Frequently asked questions will be added to this page for the benefit of other users
1. How to create safe location mentioned in Installation page?
Answer
Open new Microsoft Access and follow the following steps
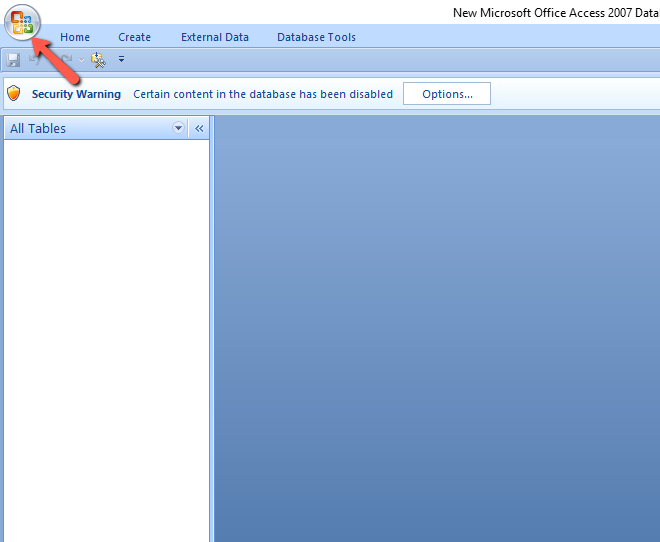
- As shown above, click on the ribbon to open another window as shown below.
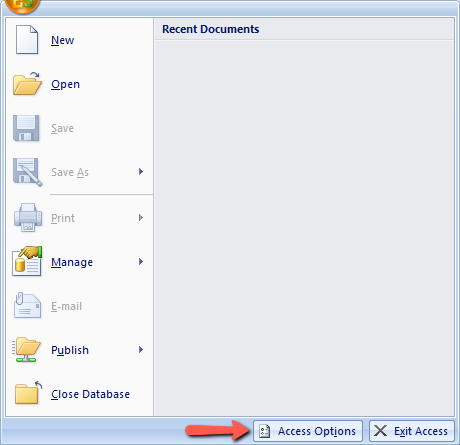
- Click "Access Options" button to open another window shown below.
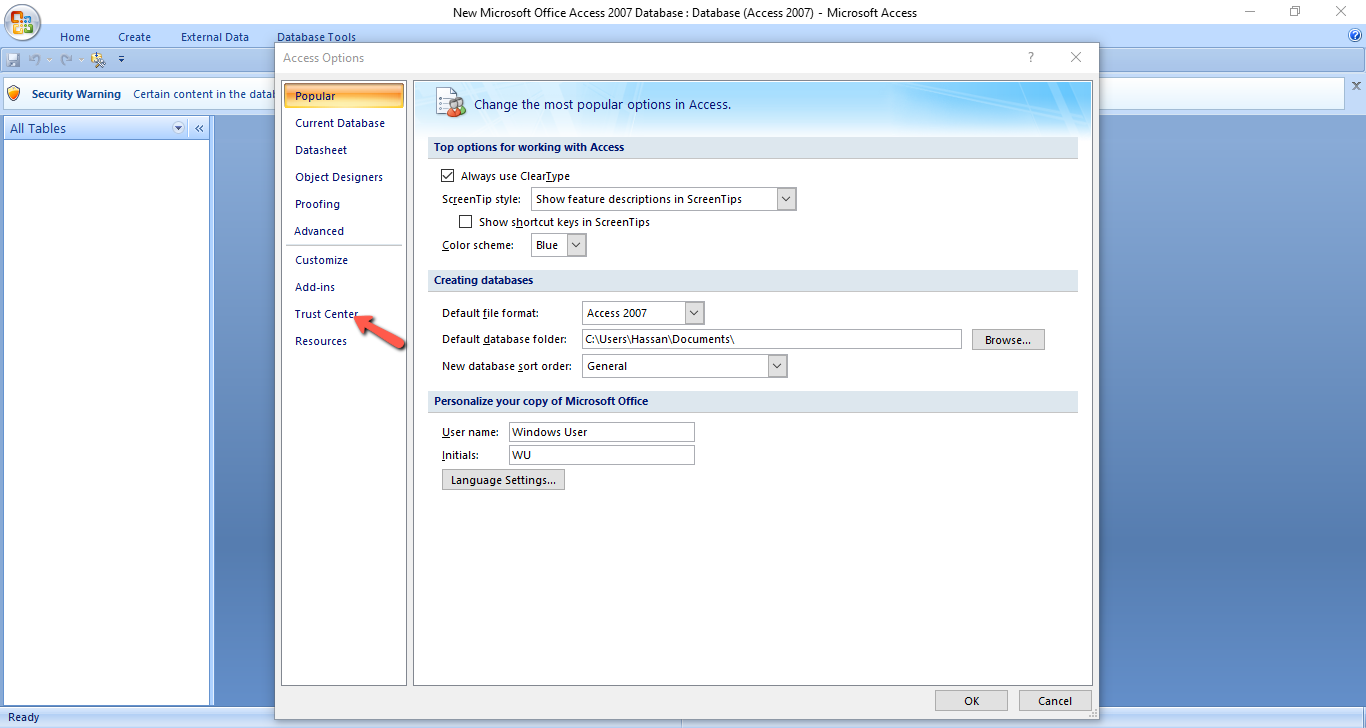
- On the left menu above, select "Trust Center" to open another window shown below.
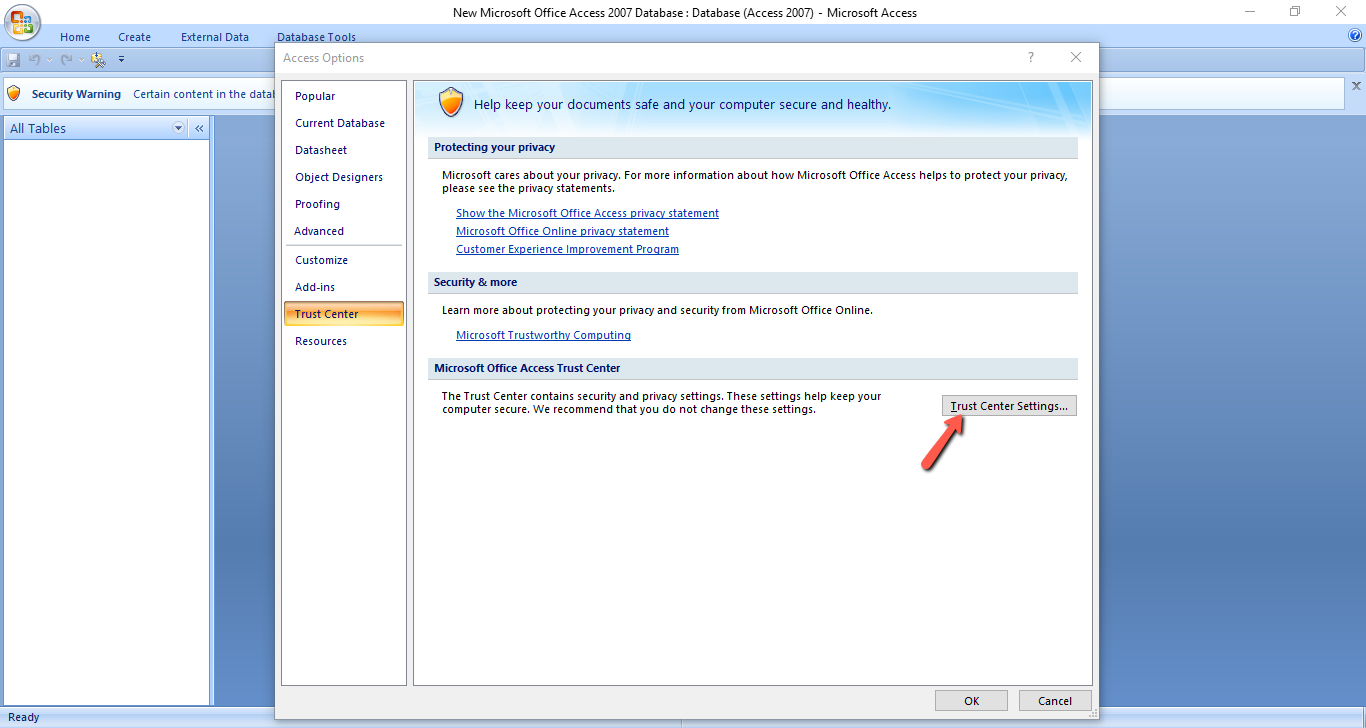
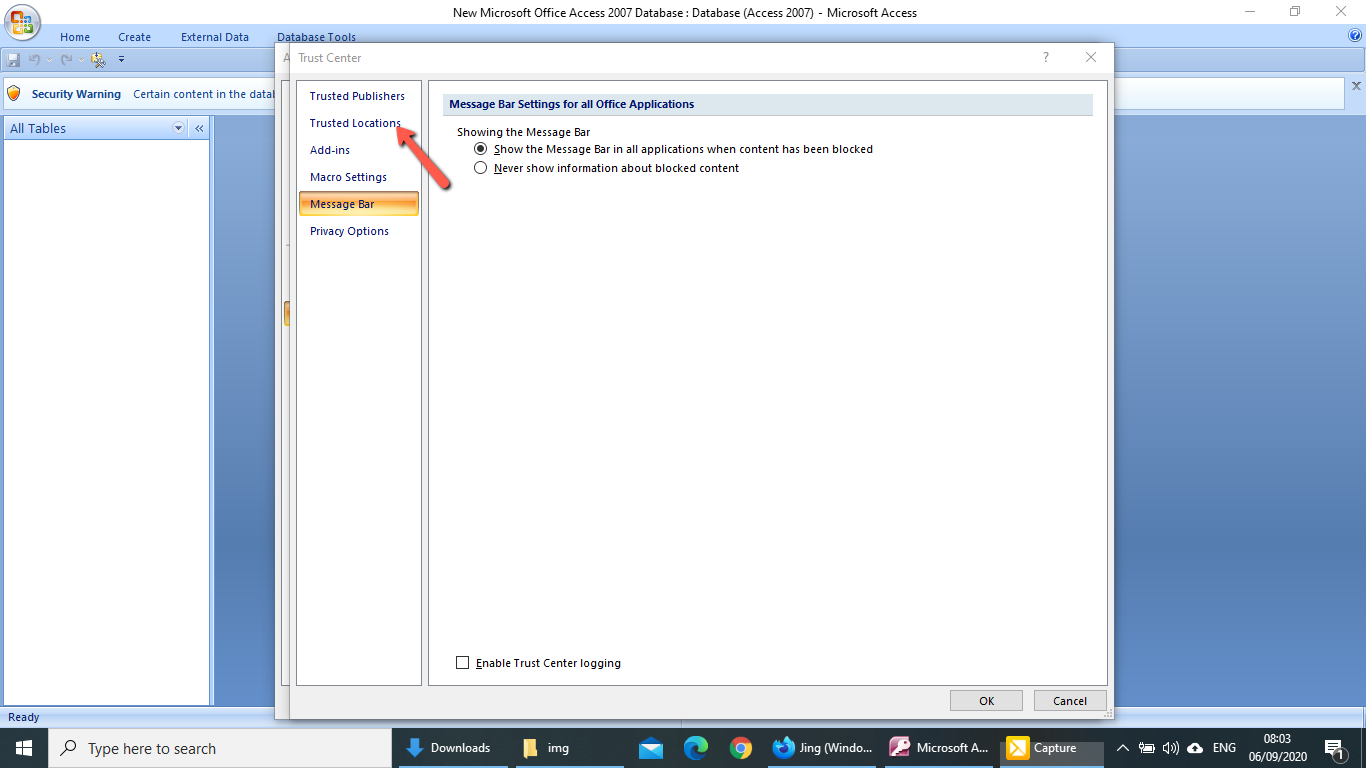
- Then click "Trust Center Setting" button as shown above. Another window will open as shown below.
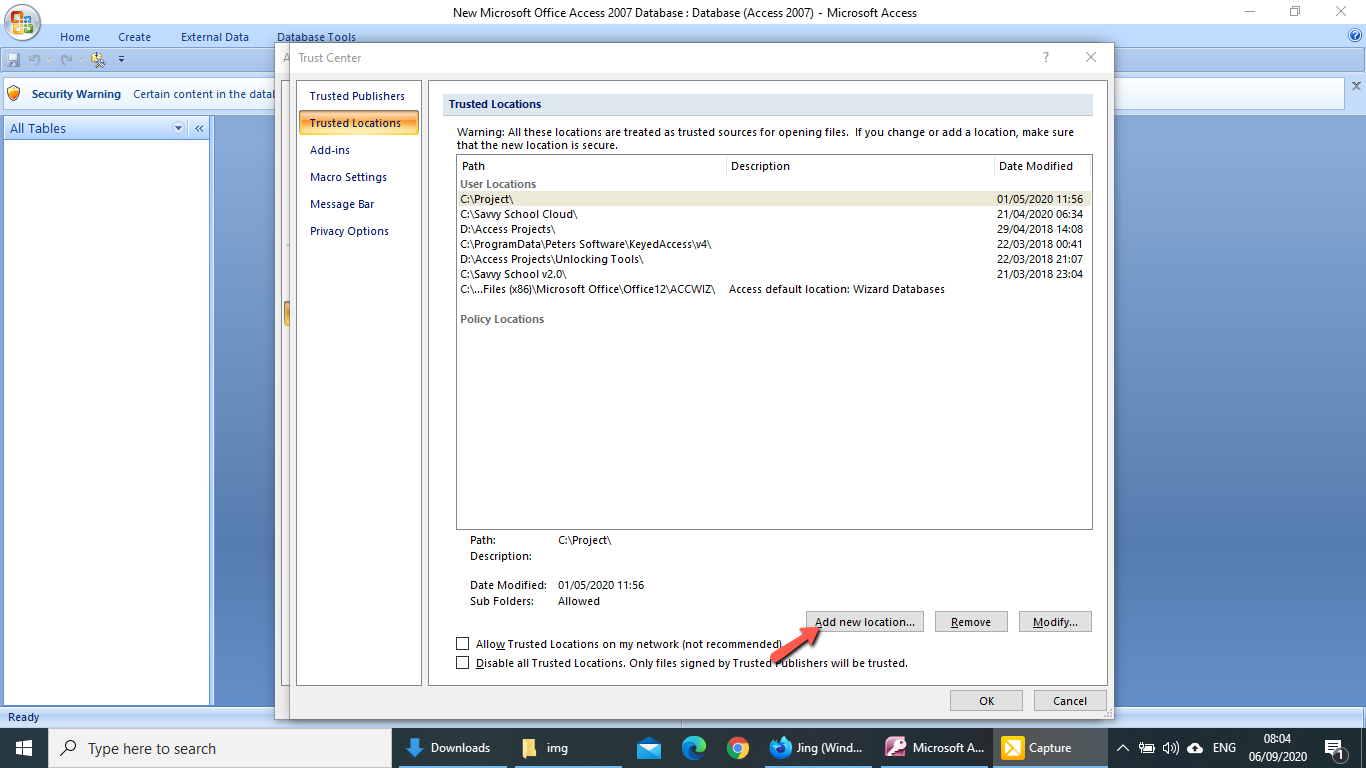
- On the left menu, click "Trusted Location" to open another window shown below.
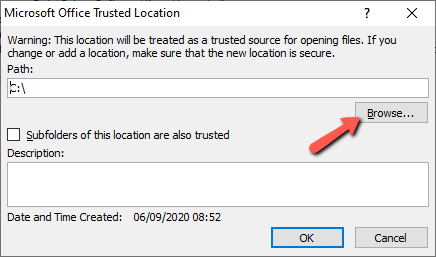
- Click "Add New Location" button to open a browse window shown below.
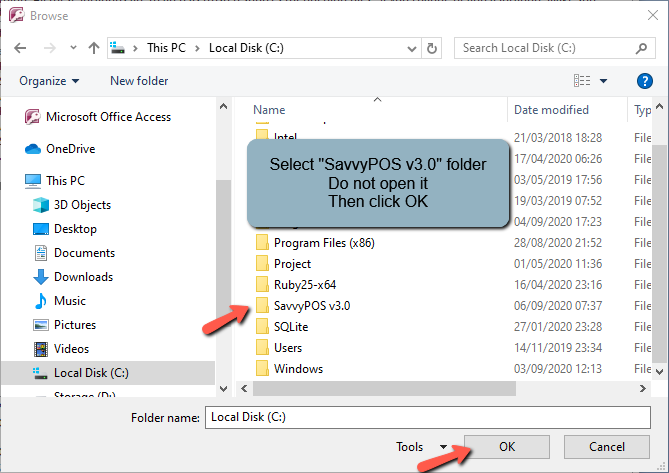
- Click the "browse" button and select the folder to make it as your safe location.
- The folder you must select is "SavvyPOS v3.0". Don't click to open. Just select it so that the entire folder is treated as safe location and windows will no longer pop up warnings.
- Then click OK to close all the opened windows one by one.
For Office 2010 and later, select "File" on the main menu and select "Options"
If you did not miss any step above, the program will henceforth open without warnings.
2. Today there was a power surge followed by a blackout that caused our computer to go off; but when the power returned, SavvyPOS could not start. Instead we got an error message that says "This Software is not Registered". What do we do?
Answer
The error is caused by your computer’s CPU reporting different MAC address from the address initially registered during software installation.
To reactivate your License, please follow the following steps:
- Disconnect from Wi-Fi or Ethernet and restart your computer.
- Change your computer system date to "1st January 2012"
- Go to “ C:\SavvyPOS v3.0 " folder and look for a file named “ Program Reset Tool "
- Double-click that file once. If you correctly changed the system date, you will get a message “OK”.
- After that, change the computer system date back to today’s date.
- Then start Savvy POS as usual.
- When prompted to enter unlock code, please enter the same code that was issued by developers.
3. After updating my SavvyPOS, when I try to save customer’s sales record, SavvyPOS refused to save and instead gave this message “Selected Customer will exceed the set credit limit”. What is happening?
Answer
In order to respond to our customer’s request, we introduced “Credit Limit” feature that business owners can limit the amount of credit they can give to their customers. To set credit limit, on the main menu go to Program Settings > Basic Settings. Then click “Debtors List” button to open input form. The form has 3 columns: Customers Name, Previous Balance and Credit Limit.
Customers Name column appear in alphabetical order. You may have to scroll to find the specific customer. Once on the customer, enter or adjust the credit amount you are comfortable with.
4. On a purchase page, there is a button when clicked it opens an input form to enter batch number and expiry date. If my products don’t have batch number or expiry date, what should I put?
Answer
Please just ignore it. That information is intended for input by those selling expiring products like medicine and foodstuff.
5. How do I confirm my sales or purchase record is saved in the system?
Answer
For sales, you can confirm by viewing “ Sales Details ” page for that date or view sales report for that day or any other day.
For purchases, you can click “ Print GRN ” button. The opened form will have all sales numbers for that day, or any other day. You can also view purchase report for that day or any other day.
6. Sometimes when I start SavvyPOS, I get the message “Not Responding”. Why?
Answer
If you start SavvyPOS immediately after starting your computer, chances are your windows operating system is still starting other services at the background. And if you have slow machine, you may have to give it a couple of minutes to finish the background task that it must perform. That phenomenon happens to all software and is not unique to SavvyPOS.